Dyson Airwrap: Tips, Tricks and Why I Love It
*Updated September 2022*
*This post contains affiliate links, which means I’ll receive a commission if you purchase through my links, at no extra cost to you. All of the products I recommend are based on my experience with the products. Please read full disclosure for more information.*
Levi gave me one of the best Christmas presents ever this year and it has me (almost) ready to throw out all of my other hair styling tools! The Dyson Airwrap is a total hairstyling game changer! From start to finish the old-fashioned way it was a solid hour to do my hair, with the Airwrap I’m down to 30 minutes!
What is the Dyson Airwrap?
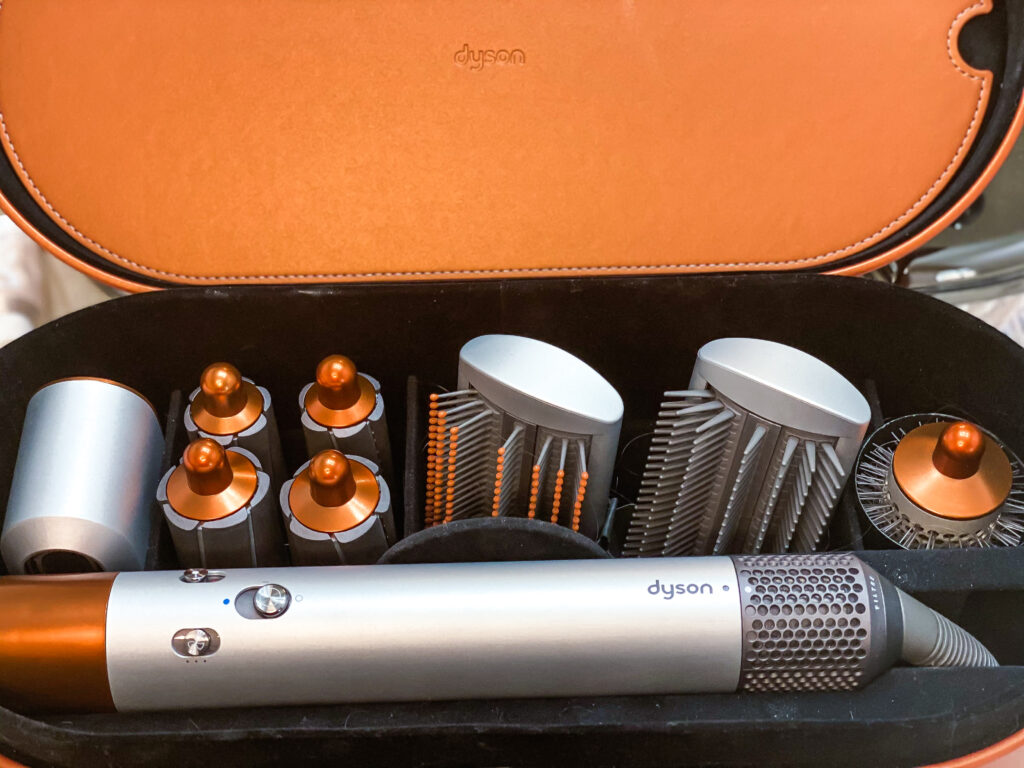
Dyson is a household name for Vacuums, and they have broken into the hair game in a big way. They started with the Supersonic Hairdryer, which was a huge success averaging 4.5/5 stars with over nine-thousand reviews! Then came the Airwrap. The all-in-one styling tool. Then most recently they launched their cordless hair straightener.
The Dyson Airwrap uses super scientific engineering to draw your hair to the barrel, and then wrap it around the barrel. This tool is so much easier on your hair than blow-drying and curling it. The Airwrap (and hairdryer) uses much lower heat compared to traditional tools, maxing at 302 degrees. I know with my OG Hot Tools I would crank the heat all the way up to 430! Don’t get me wrong I still think Hot Tools makes a great curling iron! The other problem I constantly have with curling irons is getting my hair snagged in the hinge and ripping it out. This is not an issue with the Airwrap.
Using the Dyson Airwrap
The Airwrap is very simple to use. I would say that the only tricky part is figuring out which way the curling attachments will curl your hair, but they have arrows to help with that.
The key to great curls that last is making sure your hair is damp. It will curl your hair if it’s dry, but it won’t last as long.
What I like to do is towel dry my hair so it’s not dripping wet. Add some styling mouse (*I’ve had some terrible postpartum hair loss, so I love the volume the DryBar mousse gives me) and heat protectant. I like the DryBar products because they are Paraben, Sulfate, Phthalate, and more free. Read why that matters.
Then use the blowdryer attachment to get it about 75% dry. I like to use the round brush attachment around my face because I have wild curls around my forehead.
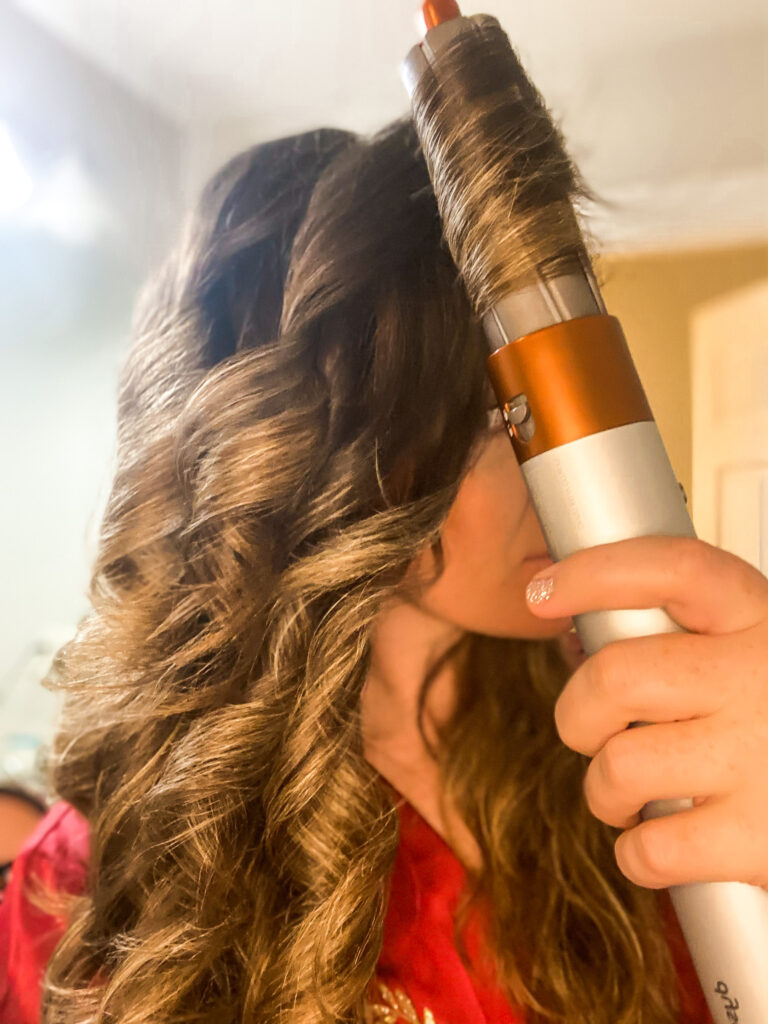
Next section hair, starting on the bottom. From there take about 2-inch sections and start wrapping. I like to have the curls going away from my face, but that’s just my personal preference. I do one side, switch barrels (so the curl faces the opposite way), then do the other side. If you want to get fancy you could switch the direction of the curls like every other curl. But that would be a lot of barrel switching. With the new Airwrap that isn’t an issue! You can change the direction of the curl with a simple turn on the top of the barrel.
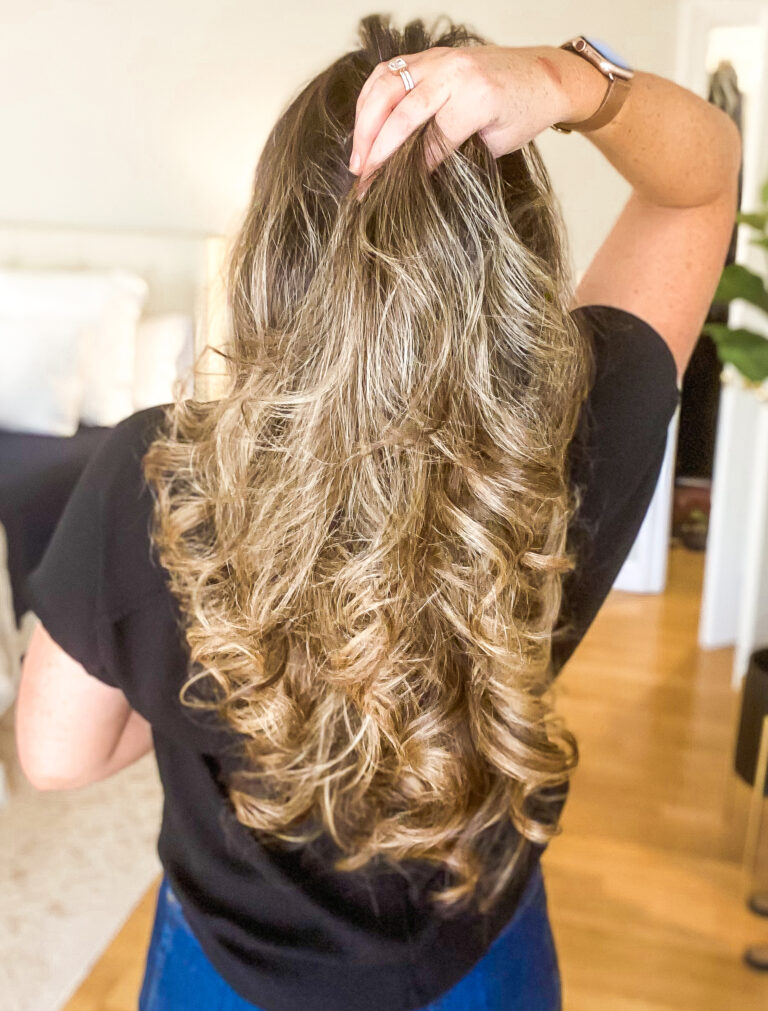
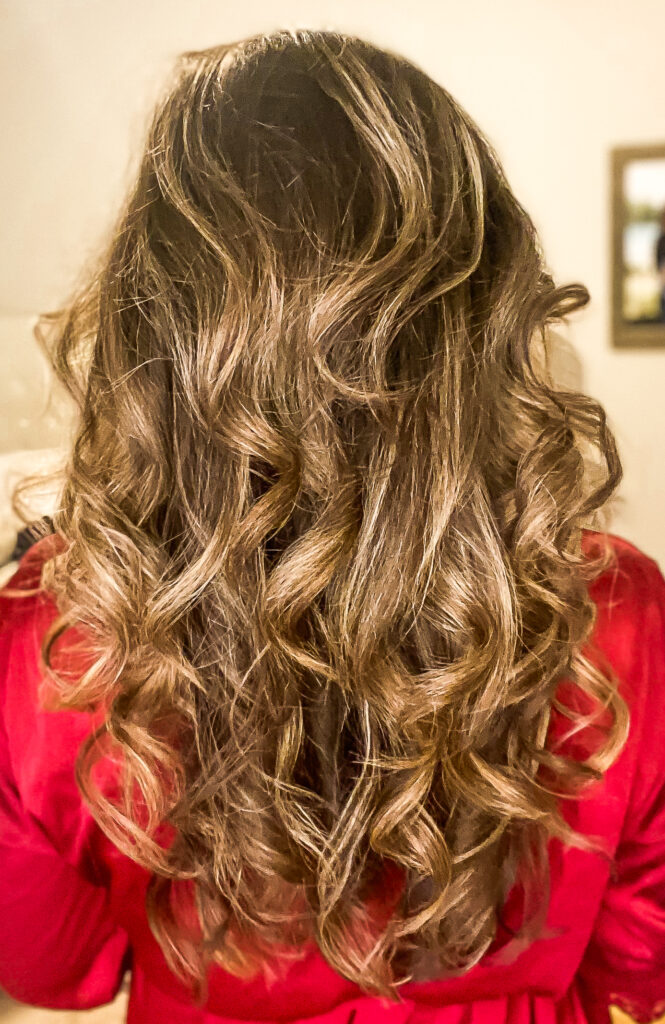
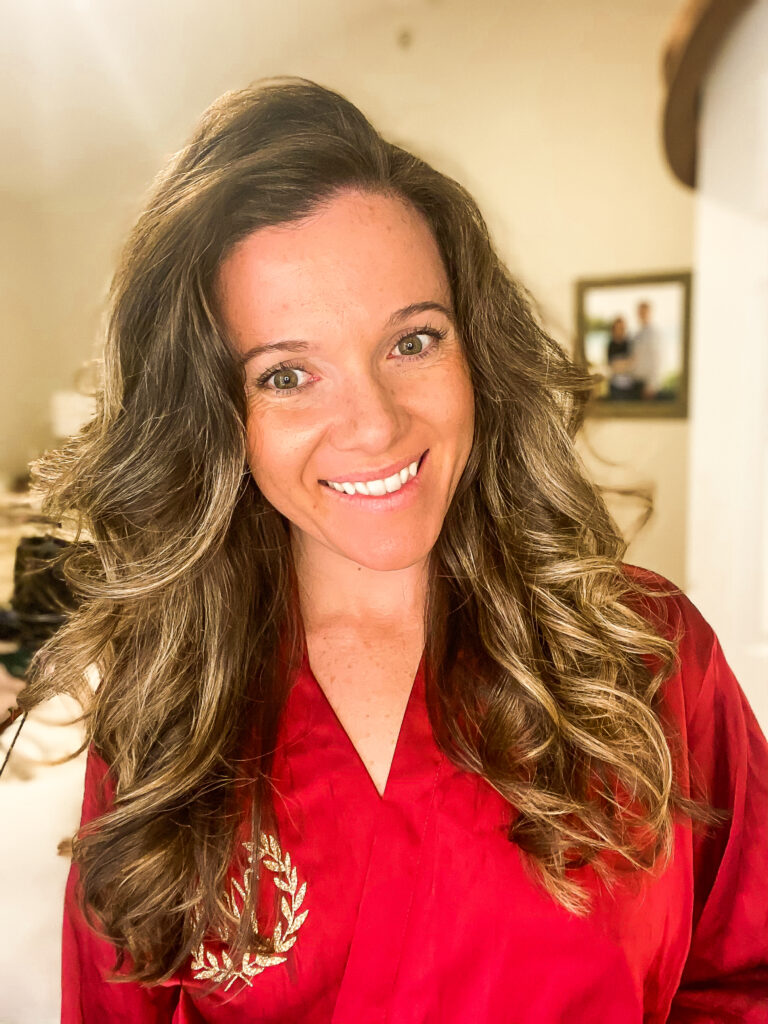
I used the larger barrel in the pictures, and it gives me big curls with lots of volume. I have found that my curls last longer when I use the smaller barrel.
*Update* I bought the longer barrel attachments and they made a big difference when doing my hair. If your hair is longer than shoulder length I think they are definitely worth the investment. If you buy a Dyson Airwrap now, they come with the longer barrels.
*Another tip. Don’t skip cleaning your filter! I know this might sound basic, but I thought my Airwrap had bit the dust. It kept turning on and off, and I was so frustrated. But the fix was seriously as simple as cleaning the filter on the bottom. That’s what the little C-shaped brush is for.
Why I love it
I love doing my hair with the Airwrap! My arms aren’t dying by the time I’m done and I feel like I just left the salon with that fresh blow-out feeling. Plus as I said above, it is so much better for your hair! I don’t feel like I’m frying it! I think it’ll help me grow my hair out faster since I’m not damaging it as much, but I’ll report back.
I’m almost ready to throw out all of my other hair styling tools because this one does it all! It has a blowdryer attachment to damp-dry your hair, a round brush attachment to give you lots of volume, two straightening brushes, and two sets of curling attachments, one for bigger waves and one for tighter curls.
Final Thoughts
I know I keep saying it, but I absolutely LOVE the Dyson Airwrap and even though it is expensive, it’s totally worth it! But, if you aren’t ready to pull the trigger on the Dyson, the Revlon One-Step Dryer is a great alternative for the blow-out look.
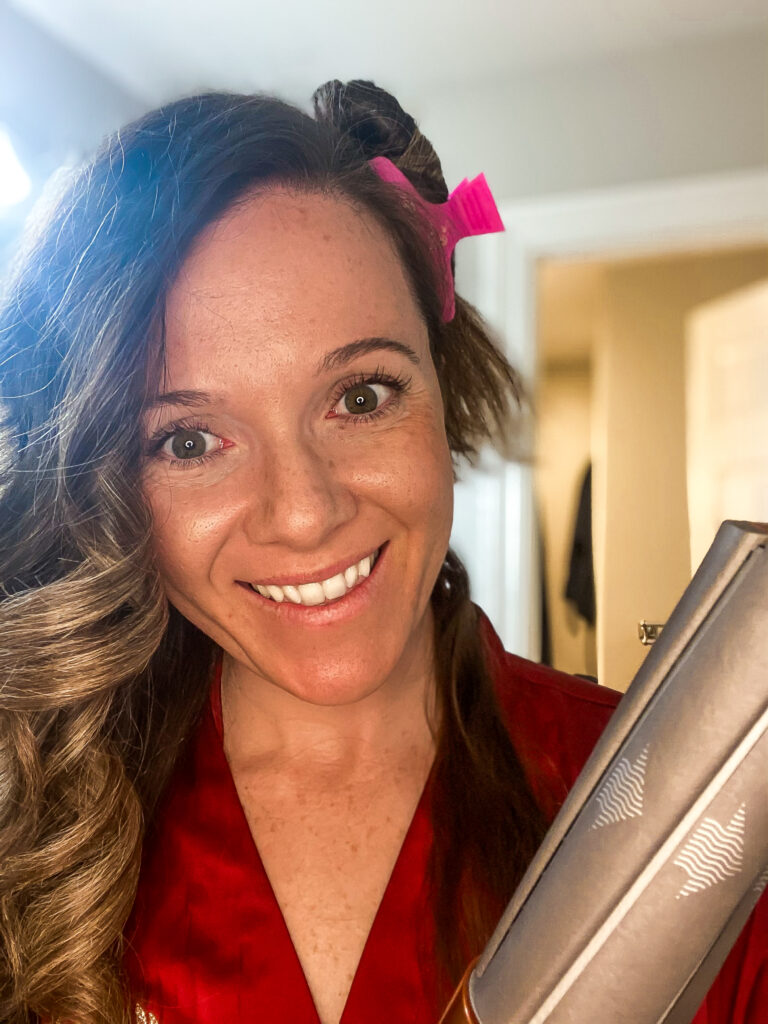
The reason I said ALMOST ready to throw out all my other hair tools, is because I just don’t think I can part with my curling iron and straightener. As easy as the Airwrap is to use, I still love my 5-minute hair-style. And sometimes the only thing that can tame this hair is my trusty Chi straightener.
Overall I would absolutely recommend the Airwrap! It is easy to use, easy on your hair, and makes it look like you really know what you’re doing! Let me know if you have any questions or tips and tricks on how to use it!
xx,
Mollie